How to Enable SCIM User Provisioning in Microsoft Azure Active Directory

Learn how to use the System for Cross-domain Identity Management (SCIM) in Microsoft Azure Active Directory to automate the management of user accounts across cloud-based applications.
Table of Contents
How to create a provisioning configuration in Microsoft Azure AD
Step 1: Register or sign in to your Microsoft Entra ID account at https://portal.azure.com

Step 2: Go to Enterprise Applications > New application > Create your own application

Step 3: Input app name, then click Create

Step 4: Once your enterprise application is added, click the app, then go to Provisioning

Step 5: Click Connect your application to get started with application provisionin

Step 6: Add Admin credentials
Create automatic provisioning configuration for qrtiger by adding:
Tenant URL: https://api.qrtiger.com/api/enterprise/v2/scim
Secret token: Your QR TIGER Enterprise API Key
Copy your API Key from your QR TIGER Enterprise account Settings > Plan > API Key
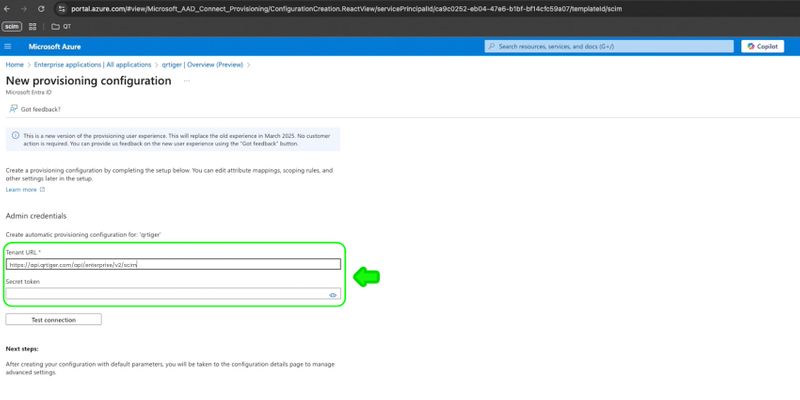
Step 7: Click Test connection. Once successful, click Create.

Step 8: Once successful, go to Overview > Start Provisioning.

You can now proceed to Attribute mapping to update user data attributes.
How to manage user data attributes
To set up Provision Microsoft Entra ID users:
Step 1: Go to Attribute mapping (Preview) > Provision Microsoft Entra ID users

Step 2: Click Add new mapping to add user attribute

Step 3: Edit attribute by entering:
Source attribute > employeeType
Target attribute > userType
Click Ok, then Save to update user provisioning settings


Step 4: Once successfully updated, go to Enterprise applications > Select qrtiger
Step 5: Go to Provisioning to see the configuration status on Overview (Preview)